How Many Soil Moisture Sensors Do You Need for a Field?
There is no defensible rule that assigns one soil-moisture sensor to a fixed acreage. This placement guide matches sensor count and depth to management zones, irrigation blocks and field variability, with a pilot method before buying a full array.
Disclosure: We may earn a commission if you purchase through links on this page, at no additional cost to you.
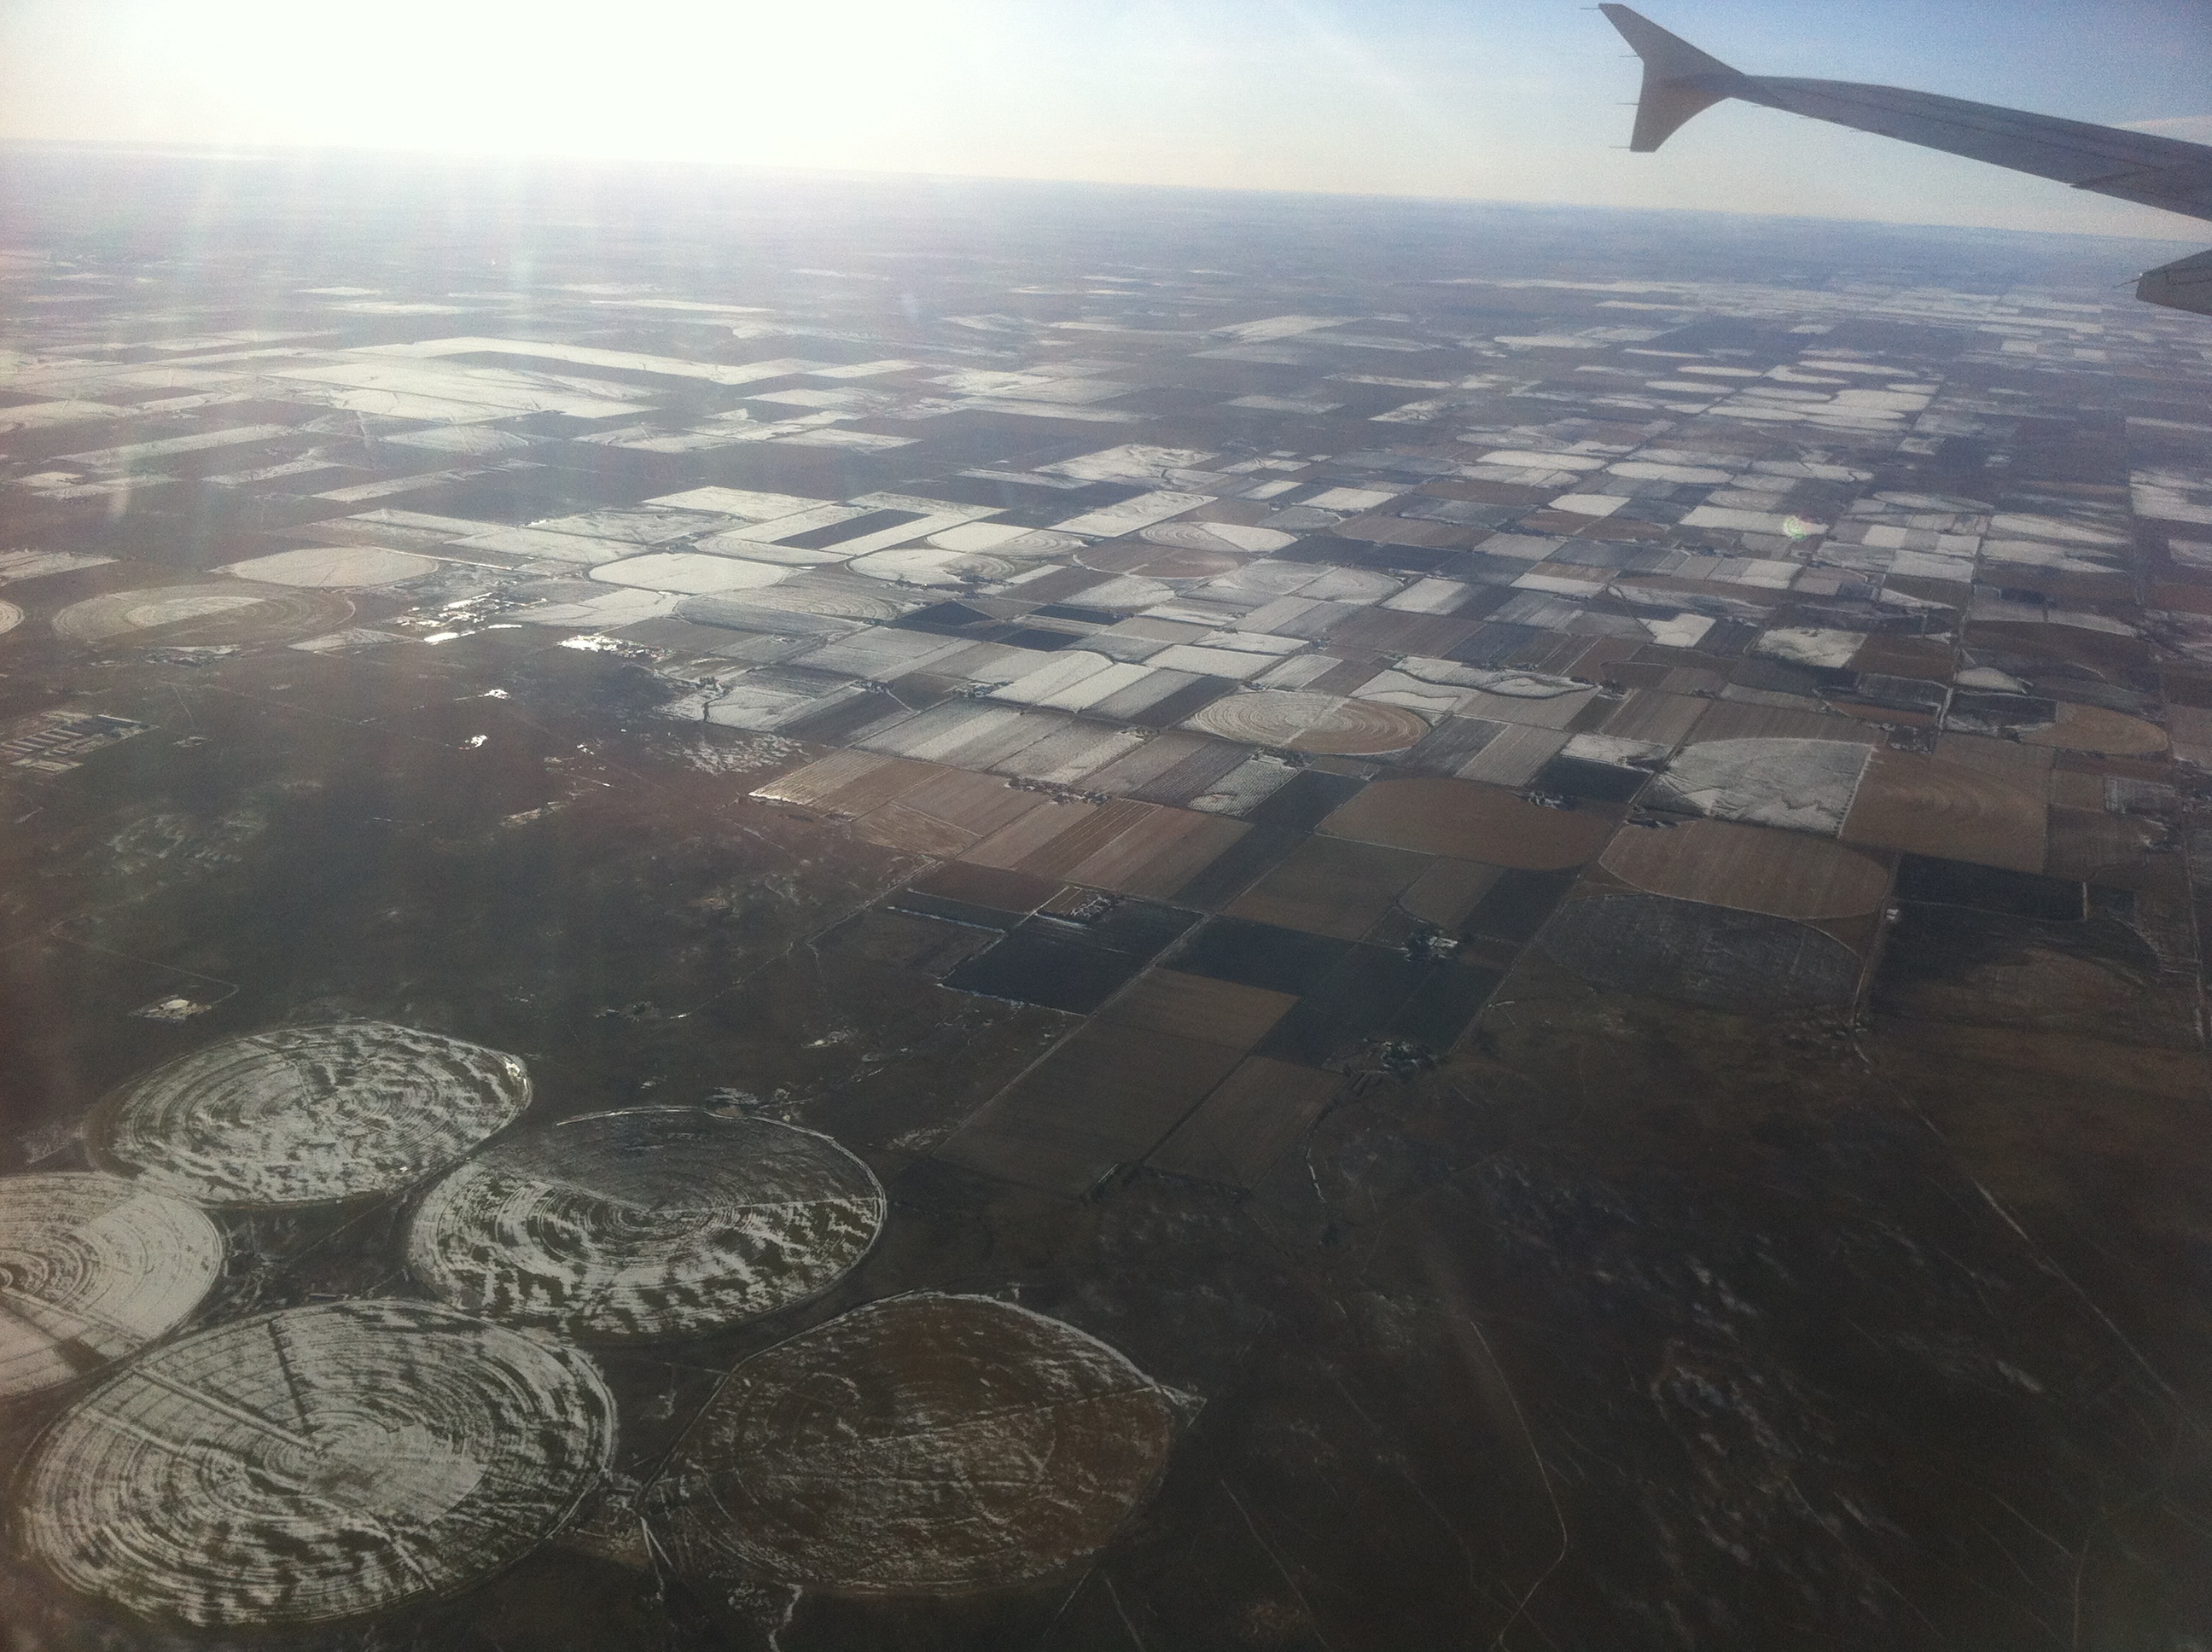
There is no defensible rule that assigns one soil-moisture sensor to a fixed acreage. A uniform research plot, a sloping orchard and a greenhouse divided into different irrigation blocks can require very different monitoring layouts even when their areas are identical. The count is a sampling decision: each station should represent a defined soil, crop and irrigation condition, and the layout should reveal when that condition is no longer represented by the available data.
A useful design therefore starts with management zones and the decision the data will support. If the goal is a single irrigation trigger, the station should sit in a representative or deliberately conservative zone. If the goal is field mapping, water-balance work or comparison across soil layers, more locations and more depth bands are required. This guide gives a practical way to plan that layout, then shows two different Alibaba sourcing roles.
The number should follow variability, not acreage
OSU Extension recommends representative monitoring areas and notes that texture, elevation and irrigation uniformity can require additional locations [E01]. The University of Minnesota describes a common starting layout of paired depths at roughly one-third and two-thirds of the crop root zone, with at least two locations where conditions vary [E02]. Virginia Cooperative Extension recommends a minimum of three stations per field as a risk-spreading starting point and stresses the value of a deeper sensor for confirming that water has reached the lower root zone [E03]. These are planning references, not universal quotas.
The practical implication is to separate three questions: how many distinct conditions exist, how many stations are needed to represent each condition, and how many depth bands are needed at each station. Adding sensors inside one unrecognised zone does not correct a layout that completely misses a sandy strip, a low point or a different irrigation block.
Step one: map the management zones
Before ordering hardware, sketch the field or growing area and mark boundaries that could change water storage or water delivery. Useful layers include soil texture, slope and elevation, drainage, crop or cultivar, row orientation, emitter or sprinkler pattern, shade, tillage, salinity history and known wet or dry spots. A soil survey, yield map, infiltration test or a short grid survey can help, but the map does not need to be perfect to be useful. It must be explicit enough that a buyer can explain why a station represents one zone and not another.
- Keep separate zones when the irrigation schedule, emitter spacing or application rate differs.
- Split a zone when soil texture, depth to a restrictive layer or water-table influence changes materially.
- Treat slopes, depressions and field edges as potential bias locations rather than automatically representative points.
- Record the intended decision for each zone: average scheduling, dry-side protection, drainage observation or research comparison.
A single station can be appropriate in a genuinely uniform zone. It becomes risky when the station is chosen only because it is easy to access. A practical commissioning approach is to make temporary observations at several candidate positions, then place permanent probes where the spatial pattern and the management decision agree. Recent work on orchard and irrigated-field placement treats this as a location-allocation problem rather than a simple equipment count [E04][E05].
Step two: choose depth bands from the active root zone
Depth should be tied to the crop and the question, not to the longest probe available. The shallow band shows the first response to irrigation and evaporation; the deeper band shows whether water has penetrated far enough and whether drainage or deep storage is changing. UMN's one-third/two-thirds rule is a useful starting point for irrigation scheduling, while Virginia guidance places importance on a lower-root-zone sensor to avoid stopping irrigation after only the surface has wet [E02][E03].
Use at least one depth in each materially different soil layer across the target root zone. A coarse upper layer over a compacted horizon can produce a very different wetting pattern from a uniform profile. In orchards or perennial crops, distance from the trunk or emitter can matter as much as nominal depth because roots and wetted bulbs are not evenly distributed. Write down the vertical reference used by the supplier: ground surface, probe tip, sensing element centre or measurement layer.
Do not infer a profile from a single deep reading. A deep probe can miss a shallow stress event, while a shallow probe can look wet after a short irrigation pulse even when the lower root zone remains dry. The depth combination should match the time scale of the irrigation decision and the crop's active roots.
A simple planning method for station count
Use the following method before assigning a quantity to a purchase order. It is deliberately transparent so the assumptions can be revised after the first season.
- Count the zones. List the distinct soil and irrigation conditions that will receive separate decisions. Start with one station per zone only when the zone is reasonably uniform.
- Add a second location where risk is asymmetric. Add a second station when a zone has a slope, variable soil, uncertain irrigation uniformity, high crop value or a history of under- or over-watering. Place it in a second representative position, not directly beside the first.
- Add a third location when one reading can stop or start a large block. For a large or heterogeneous field, three or more stations reduce the chance that one poor location controls the whole block. Use the additional station to test spatial agreement, not to create an unexplained average.
- Assign depth bands at each station. Choose two or more depths when the decision depends on root-zone replenishment or drainage. Use a single depth only when the crop, soil and control logic justify that simplification.
- Review after a wetting cycle. Compare stations through irrigation or rainfall. If one station repeatedly behaves unlike the zone, investigate placement and soil conditions before deleting it. If several stations move together, the next expansion should target an unrepresented zone rather than duplicate the same location.
Place the sensor where the decision is made
A sensor beside an emitter measures a different hydraulic condition from one midway between emitters. A sensor against a trunk, in a wheel track or next to a drainage ditch may be useful for a specific question, but it should not be labelled representative without saying why. For drip irrigation, define the horizontal offset from the emitter and plant row. For sprinklers, avoid locations that receive atypical overlap unless the overlap itself is the risk being monitored.
Install in undisturbed, representative soil and document the position with a sketch, photograph, depth, horizontal offset and installation date. Avoid rocks, large roots, voids and preferential-flow paths. If the sensor is moved, replaced with a different sensing length or installed after major soil preparation, treat the location as a new observation point and re-commission it.
Use a short pilot before buying a full array
A pilot is not wasted hardware. Install temporary or permanent stations in the proposed zones, include the planned depth bands, and observe at least one meaningful wetting and drying sequence. Review whether the traces answer the decision: do shallow and deep layers separate, do stations within a zone behave similarly, and does the response arrive at the expected time? If the answer is no, the problem may be placement, contact, hydraulic uniformity or data handling rather than sensor accuracy.
Keep the pilot record with the procurement file. It should include the zone map, exact coordinates or offsets, depths, raw readings, displayed units, irrigation events and reasons for retaining or rejecting each position. This record also makes a later calibration or troubleshooting exercise far more efficient.
Sourcing candidates for two different placement roles
The offers below are not a ranking. Candidate A is designed around vertical profile coverage at one station. Candidate B is designed around distributing multiple wireless measurement points, but the listing mixes a three-probe title with a wireless analogue sensor architecture, so the exact supplied package must be confirmed before purchase.
Candidate — Renke integrated multi-depth probe
Candidate — EASEMIND three-probe wireless listing
RFQ and acceptance questions
- Which depth or probe option is included in the quoted unit, and what is the physical reference for that depth?
- Can the supplier provide a drawing showing the sensing elements, spacing, sensing volume and cable routing?
- For a multi-point system, are readings individually identified and time-stamped, or are they combined into one value?
- What are the raw output units, register map, scale factor and failure behaviour when one layer or one wireless node is offline?
- What is the recommended horizontal offset from an emitter, row or trunk for the target crop and irrigation method?
- What commissioning evidence will be supplied: installation guide, sample trace, test report, serial or batch record and replacement procedure?
The placement record to keep with the purchase order
For every station, save the management-zone name, crop and irrigation block, latitude or a field sketch, distance from plant row and emitter, depth or layer, sensor model and serial, installation date, soil description, cable or radio path and the decision the station is allowed to control. Store the raw output with the displayed value. If a station is deliberately placed in the driest or wettest part of a zone, label that purpose instead of calling it average.
Review the array after the first meaningful season or crop-cycle change. Root distribution, emitter layout, soil management and irrigation uniformity can change. A good sensor-count decision is therefore a documented design that can be expanded or reduced when the evidence shows the current array no longer represents the decision zone.
Bottom line
Size the sensor array from management zones, root-zone depths and the irrigation decision—not from acreage or a catalogue bundle. Map the zones, assign depth bands from the crop's active roots, place stations where the decision is made, and run a short pilot before buying the full array. Renke is a profile-station candidate for several fixed depth bands at one point; EASEMIND is a distributed-wireless candidate for a multi-point pilot, provided the exact package is confirmed. Both remain sourcing candidates until the supplier documents the quoted configuration and the buyer checks it against the zone map.
Evidence and source notes
- E01 — Oregon State University Extension, Soil moisture monitoring to support irrigation scheduling: https://extension.oregonstate.edu/catalog/em-9868-soil-moisture-monitoring-support-irrigation-scheduling
- E02 — University of Minnesota Extension, Soil moisture sensors for irrigation scheduling: https://extension.umn.edu/natural-resources/conservation/agricultural-soil-and-water/irrigation/soil-moisture-sensors-for-irrigation-scheduling
- E03 — Virginia Cooperative Extension, Scheduling Agricultural Irrigation Based on Soil Moisture Content: https://www.pubs.ext.vt.edu/BSE/BSE-339/BSE-339.html
- E04 — University of Florida IFAS, Minimum Number of Soil Moisture Sensors for Monitoring and Irrigation Purposes: https://ask.ifas.ufl.edu/publication/HS1222
- E05 — Smart Agricultural Technology, Optimizing soil moisture sensor placement through spatial variability analysis in orchards, 2025: https://doi.org/10.1016/j.atech.2025.101273
- E06 — Alibaba marketplace listing, Renke integrated multi-depth soil moisture sensor, Product ID 1600987771450: https://www.alibaba.com/product-detail/Renke-Multi-depth-soil-moisture-temperature-humidity_1600987771450.html
- E07 — Alibaba marketplace listing, EASEMIND three-probe wireless soil moisture listing, Product ID 1600576446832: https://www.alibaba.com/product-detail/EASEMIND-Wireless-soil-moisture-sensor-three-probe_1600576446832.html
Share this article