When Should You Clean or Replace a Fertilizer Injection Valve?
A blocked tip is only one reason a dosing line stops delivering. This guide separates residue that can be flushed from a check assembly that has failed, then defines the evidence needed to clean, replace or stop and investigate.
Disclosure: We may earn a commission if you purchase through links on this page, at no additional cost to you.
A fertilizer dosing pump can keep cycling while little or no solution reaches the irrigation line. The injection valve is one possible restriction, but a blocked tip is only one of several causes. Before taking it apart, separate a deposit that can be safely flushed from a check assembly whose seat, ball, spring, seal or body has failed. Then confirm that the replacement matches the pump, chemical, connection and pressure conditions. This guide gives a decision sequence for operators and small-system buyers. It does not assume that every injection valve is serviceable, or that one cleaning chemical or interval suits every fertilizer system.
Start with the symptom, not the part
A silent or low-flow injector does not prove that the injection valve is clogged. A metering pump may lose prime, draw air through a loose suction connection, develop a fouled foot valve, or have a worn diaphragm or pump-head check. A closed isolation valve, kinked discharge tube, plugged filter or unfavourable pressure difference can produce a similar symptom. If you replace the assembly before checking these points, the same failure can return with a new part in place.
Record what changed. Note whether the pump still strokes, whether its discharge line pulses, whether the chemical tank level is falling, and whether measured injection output has changed. Compare it with a baseline. A calibration column or measured-volume test can show whether the pump is delivering its expected amount; it cannot identify which valve is at fault.
Check the system in a safe sequence: confirm the tank has solution, inspect suction tubing and connections for air leaks, verify that the foot valve is submerged and unobstructed, check pump priming, then confirm the discharge path and injection point are open. Follow the pump maker's procedure and do not loosen a fitting on a live, pressurised chemical line. If the pump is not moving liquid at its outlet, investigate the pump and suction side before blaming the injection point. If it delivers at the pump but not at the downstream test point, the restriction is farther along the discharge path.
Understand what the injection valve is doing
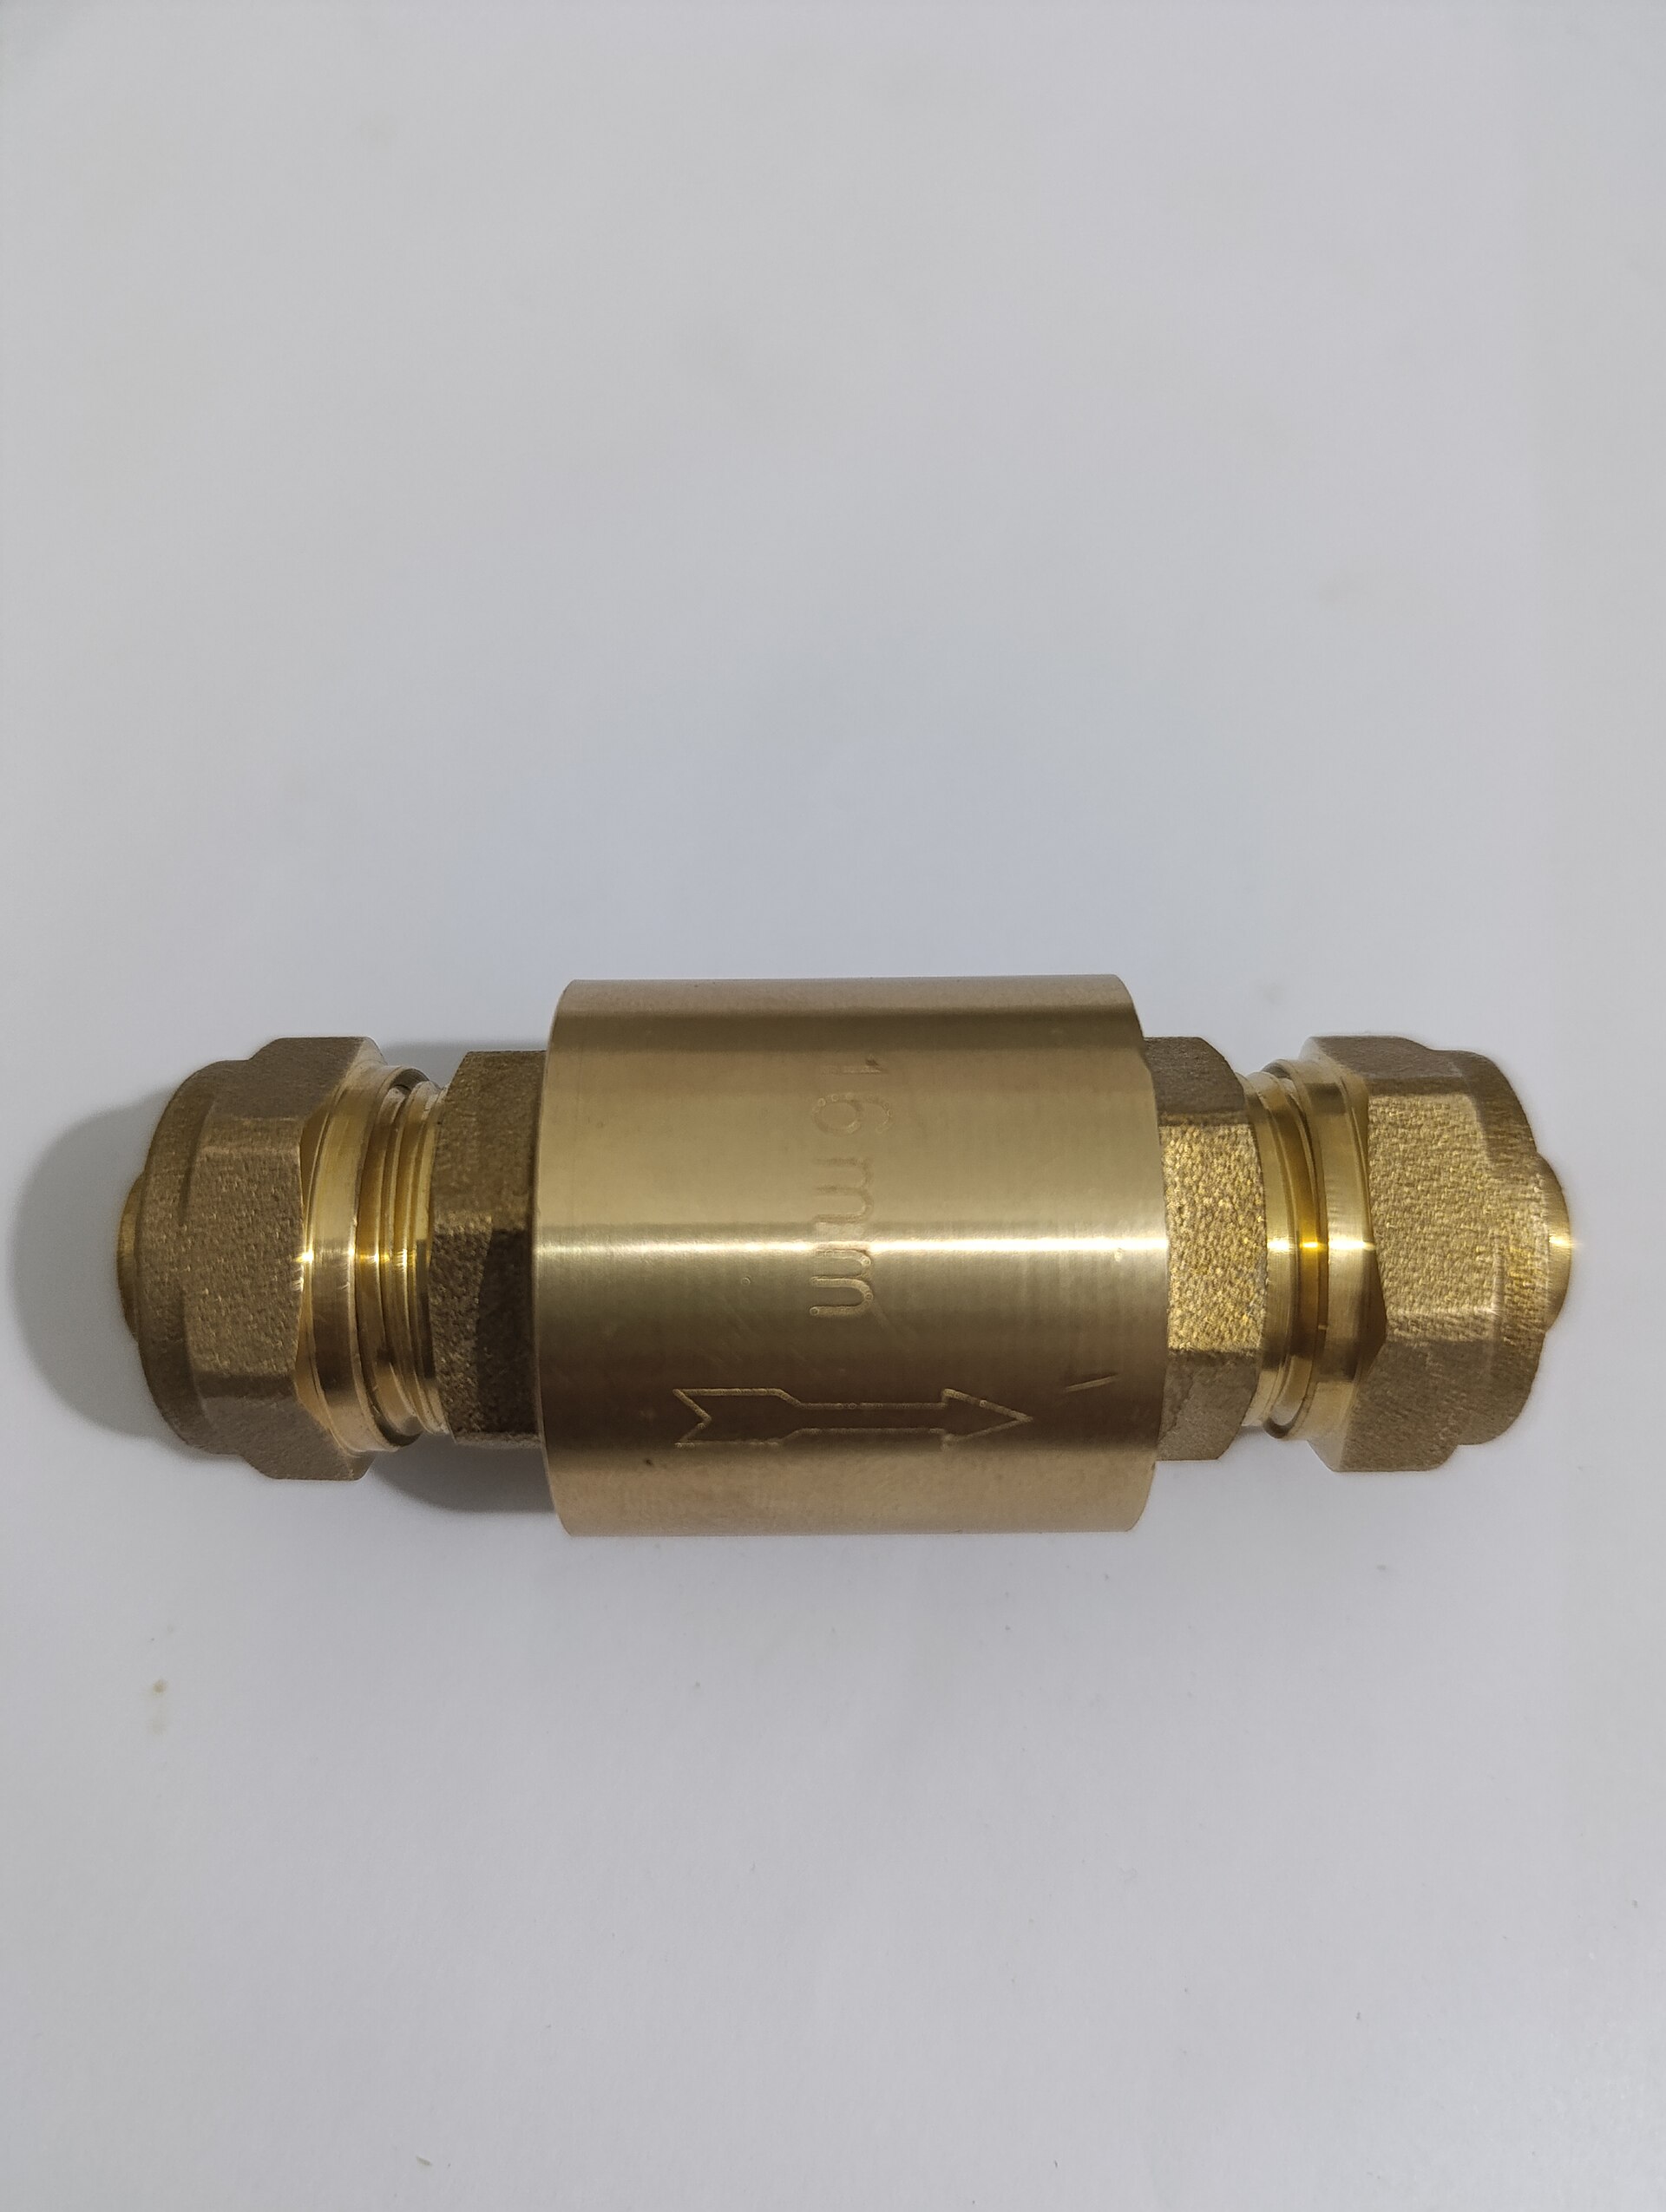
An injection assembly is more than a nozzle. Depending on its design, it may include a check valve intended to limit reverse flow, a spring-loaded ball or another closure, a fitting that enters the process pipe, and seals exposed to both the injected solution and the carrier water. A short metering-pump injection check and a long injection quill are not interchangeable names for a universal part. A quill may extend into the pipe to place the discharge point in the flow; a small check fitting may simply connect the chemical tube to a threaded port.
That distinction matters during diagnosis. A check element stuck closed can stop delivery. One that no longer seats can allow process fluid to travel backward, contaminate the chemical line, or interfere with accurate dosing. A narrowed passage can restrict flow even when the pump appears to operate normally. A pump that cannot overcome pressure at the injection point may fail to deliver through a clean valve. Check the pump's rated discharge pressure and the injection assembly's specified opening or differential pressure rather than treating a pump stroke as proof that the valve is open.
Manufacturers build serviceability differently. One injection quill manual describes a non-serviceable one-piece assembly and directs replacement if specified internal parts are damaged. Another supplier describes quills with a removable spring-and-ball check. These examples show why a generic cleaning video cannot establish that a particular valve can be opened, lubricated or rebuilt. The exact model's manual controls.
Isolate and identify before inspection
Fertilizer concentrates and treatment chemicals can injure skin and eyes, and pressure can remain in a line after a pump stops. Use the chemical label, safety data sheet, site procedure and equipment manual to choose appropriate gloves, eye protection, containment and flushing liquid. Stop and isolate the pump, prevent automatic restart, close the required process and chemical isolation valves, and relieve pressure by the system's approved method. Verify zero pressure before disconnecting anything. If the system cannot be isolated or drained safely, leave the assembly in place and call a qualified technician.
Do not use a live-line removal technique copied from a pool, boiler or oil-and-gas discussion. Retractable quills and fixed fittings have different pressure boundaries and retention arrangements. A fixed small check may look simple, but the pipe port can still contain pressurised water or chemical. Do not cut, rotate or withdraw a fitting unless the exact design instructions authorise that method and the system is in the required safe state.
Before removal, photograph the assembly and mark its orientation. Record the pump make and model, part number if visible, connection thread or tube size, insertion length, body and seal materials, and the chemical being dosed. Note process pressure, temperature and whether the line contains suspended solids. These details let a supplier compare like with like. A product title such as "injection valve" is not a compatibility specification.
When cleaning is a reasonable first response
Cleaning is reasonable only when the manufacturer's instructions permit it and inspection points to removable residue rather than damaged components. Typical clues may include visible crystals or scale at an exposed opening, an obstruction that clears during an approved compatible flush, and no evidence of cracked plastic, corrosion, swelling, cuts, deformation or persistent reverse leakage. The deposit's appearance is a clue, not a chemical identification. Do not assume every pale or hard deposit is a particular fertilizer salt.
With the part isolated and removed as directed, flush it using the compatible liquid named by the equipment or chemical supplier. A soft brush may be appropriate if the manual allows it and the passage is accessible without forcing or scratching the seat. Avoid sharp wire, drill bits, abrasive tools and compressed air unless the exact instructions expressly permit them; these can enlarge an orifice, score a sealing surface or eject residue. Do not soak an unknown polymer or elastomer in acid, solvent, bleach or another cleaner just because a forum user did so on a different product.
Keep loose parts in order if the manufacturer authorises disassembly. Do not add grease to a ball, spring, diaphragm or seal unless the manual names the lubricant and location. Some injection assemblies are designed to remain dry or are not intended to be opened at all. After the approved cleaning, inspect the check action and sealing surfaces using the maker's specified method. A part that still sticks, leaks backward or cannot pass the specified functional check is not restored merely because its exterior looks clean.
When replacement is the better decision
Replace the assembly when the exact manual calls it non-serviceable and a critical internal part is damaged, or when cleaning fails to restore the documented function. Replacement is also the prudent path when the body is cracked, a thread is damaged, the seal is swollen or cut, a spring is visibly corroded or distorted, the ball or seat is pitted, or leakage continues after the permitted cleaning. If a manufacturer offers a replaceable check kit, use only the kit specified for the exact model and follow its procedure; do not assemble a mix of visually similar balls, springs and seals.
Repeated clogging deserves a cause review before installing another valve. Check whether fertilizer is precipitating under the actual water chemistry and mixing conditions. Extension guidance notes that injected chemicals can react with irrigation water; calcium, bicarbonate, phosphate and sulfate combinations can form precipitates. That does not identify the deposit in a given fitting. Compare the fertilizer label and water analysis, review mixing order and concentration with the supplier, and collect a sample for identification if the cause remains uncertain.
Also review upstream filtration, dead legs, stagnant sections, injection location and the system's normal flush procedure. A filter can catch particles but will not necessarily prevent a dissolved solution from precipitating later. Do not simply install a finer filter or increase acid strength without checking the design and chemical compatibility. Treat recurring blockage as evidence that the process conditions or component choice need review, not as a routine invitation to clean more aggressively.
Choose a replacement by the complete operating envelope
Start with identity. Ask for the exact manufacturer, model or part number, drawing, and a written confirmation that the assembly is intended for the pump and injection setup in question. Confirm whether the listing is a complete injection valve, a check cartridge, a back-pressure valve, a foot valve or a long quill. These components can look alike in marketplace photos while serving different positions and functions.
Then verify wetted materials for the actual fertilizer formulation and concentration, not merely the word "chemical". Check the body, ball or poppet, spring, seat and every wetted seal separately. Compatibility can change with concentration, temperature, exposure time and mixtures. A supplier's broad statement that PP, PVDF, PTFE or stainless steel is "chemical resistant" is not a compatibility letter for your solution. Request the exact material grade and an applicable chemical-compatibility reference from the manufacturer or supplier.
Match the connection and geometry: thread standard and size, tubing outside diameter, port orientation, insertion length, and whether the tip needs to extend into the pipe. Verify pressure limits and the check valve's opening or cracking pressure under your operating differential. Distinguish maximum working pressure from the pressure required to open a check. Obtain temperature limits and any derating that applies. Finally, check whether the pump can provide the necessary discharge pressure at the required dosing rate while the process line is operating.
Questions worth sending with an inquiry
A useful inquiry contains the evidence a seller needs to identify the right assembly. Include clear photos, the current part markings, pump model, chemical name and concentration, process pressure and temperature, pipe or hose connection, and the measured symptom. Ask: is this a complete injection check or only one component? What is the exact model and drawing? Which materials and seals are wetted? What are the working-pressure limit and opening pressure, stated separately? Is the check serviceable, and what exact cleaning liquid and procedure does the manufacturer approve? Which replacement kit applies, if any?
Ask the supplier to confirm compatibility in writing against your actual conditions and to state what remains unverified. Request the current datasheet or manual, material breakdown, dimensions, lead time, minimum order quantity, shipping method, and whether the quoted item is the exact configuration shown. For a higher-risk system, ask for manufacturer identity and traceable product documentation. A marketplace certificate badge or a seller's general factory claim does not prove that the offered component carries a particular rating or chemical approval.
Restart with a measurable acceptance check
After cleaning or replacement, reinstall only according to the exact manual, with the specified orientation, seal, thread engagement and tightening method. Do not apply extra tape, sealant or lubricant unless the manufacturer permits it; material can migrate into a small passage or alter the seating. Restore the process gradually under the approved start-up procedure and check the joint for leaks from a safe position. Keep people clear of the injection point while pressure is restored.
Prime the pump as instructed and verify delivery at the intended operating pressure. Measure output over a known interval or use the specified calibration method, then compare it with the pump's expected setting and the pre-maintenance baseline. Check that the injection check prevents reverse flow when the system is stopped, using the maker's procedure rather than an improvised pressure test. Record the part number, solution, pressure, observed output, cleaning action and date. That record helps distinguish a one-off deposit from a repeat failure tied to water chemistry, operating conditions or unsuitable materials.
Stop and investigate if output remains unstable, the check leaks backward, the fitting seeps, or the pump cannot reach its target. Do not compensate for a restriction by raising the pump setting beyond its rated limits. The system is ready only when the documented delivery and leak checks pass under the conditions in which it will actually run.
A practical decision rule
Clean when the exact manufacturer permits cleaning, the obstruction is accessible residue, the body and sealing parts remain intact, and the assembly passes its specified test afterwards. Replace when the design is non-serviceable, a pressure-containing or sealing component is damaged, permitted cleaning does not restore function, or the cause makes the part unsuitable for the chemical or operating conditions. If the diagnosis is unclear, isolate the system and obtain the model-specific instructions before acting.
This rule avoids two expensive habits: replacing a sound injection assembly when the pump has simply lost prime, and repeatedly cleaning a damaged or incompatible check that should be replaced. The reliable fix comes from tracing the symptom, respecting the exact design, and confirming delivery after the work.
Share this article