Air Compressor Quick-Connect Plug Compatibility: How to Match the Coupler
A plug that nearly fits is still the wrong plug. Three different measurements hide behind the words quarter inch, and only one of them is the profile.
Disclosure: We may earn a commission if you purchase through links on this page, at no additional cost to you.
A plug that nearly fits is still the wrong plug. It may enter the socket and stop before locking, or click in yet leak around the nose. Replacing it by the label "1/4 inch" can repeat the mistake: that marking may describe the pipe thread, the coupler's nominal body size, or the hose connection. Those are separate dimensions.
This guide shows how to identify the plug profile first, then match the thread and hose end, and finally check pressure and airflow. The aim is a replacement that locks fully, seals, and supplies the tool without adding a restriction.
The three measurements hidden in "1/4 inch"
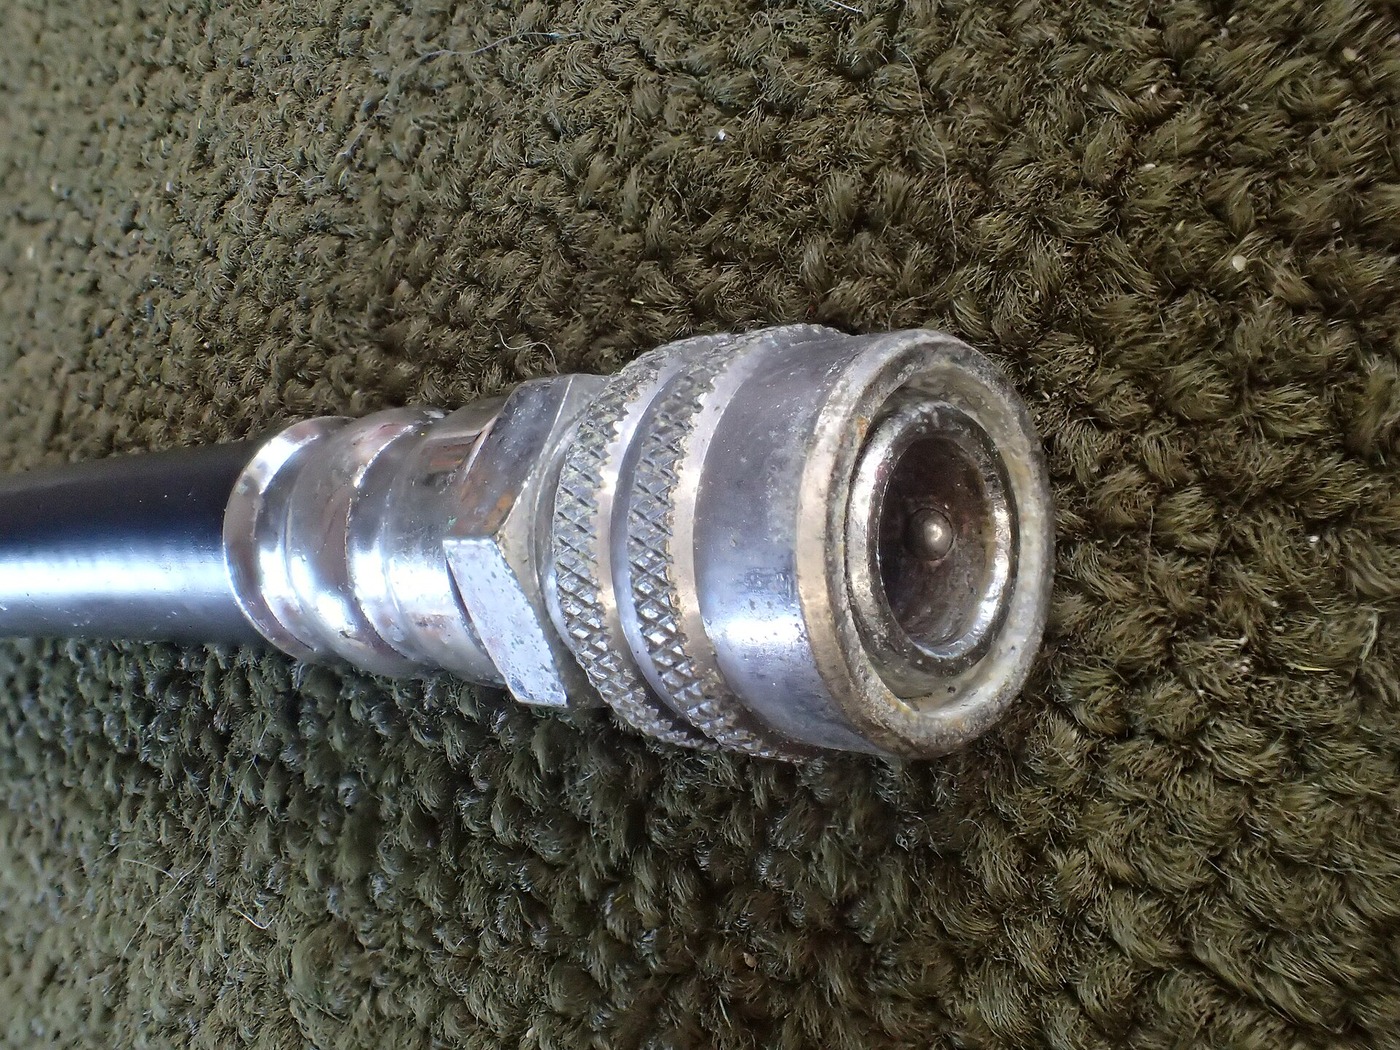
A quick-connect pair has two sides. The male plug, also called a nipple, enters the female socket or coupler. The profile is the shape and locking geometry where those parts meet. The thread at the rear of the plug or socket attaches it to a hose, manifold, or tool. A barb or push-on tail may replace the thread entirely.
A "1/4-inch industrial plug" commonly refers to the coupling body size or profile family. A separate "1/4 NPT" may describe the pipe thread. A hose barb labelled 1/4 inch may refer to hose inside diameter. None of these labels proves the other two match. Dixon's catalogue, for example, lists 1/4-inch body-size plugs with different thread sizes and hose connections, including 1/8-inch and 1/4-inch NPTF as well as barbs for different hose inside diameters.
Use four labels when shopping: profile, body size, connection type and size at each end, and working pressure and flow requirement. For example: "Industrial/M profile, 1/4 body, male 1/4-18 NPT thread, steel plug, compressed air." This description is far more useful than "quarter-inch compressor fitting."
Step 1: Identify the profile from the installed socket
Start with the coupler already on the compressor, hose, or tool. Wipe it clean, read any brand or series marking, and compare its shape with the manufacturer's profile chart. Look at the plug's nose length and diameter, the shoulder behind the nose, and the groove or locking recess. A phone photo beside a ruler helps when you ask a supplier to compare it, but the chart or part number should decide the match.
Common North American air-tool profiles include Industrial (often called M-style or I/M), Automotive (often A-style), ARO 210 and 310, and Tru-Flate. European profiles such as Euro 7.2 and 7.4 mm and other Rectus, Cejn, or Orion patterns may look similar in a listing photo but use different geometry. "Universal" is not a reliable interchange standard. Dixon's identification guide says to identify the profile by shape before measuring the plug; its current catalogue lists these families separately.
Do not assume a brand name guarantees compatibility. "M-style" is commonly used in North American retail for an Industrial-interchange profile, but profile-series labels vary: Dixon calls its ARO profile the M-Series, while Milton uses M-Style for an Industrial-interchange family. That naming collision is exactly why a lone "M" on a listing is weak evidence. Confirm the profile drawing and exact series. "ARO" can also refer to more than one profile; specify ARO 210 or 310 when that is what the machine uses.
If you have both halves, check them together only after venting the line. The sleeve should move as designed, the plug should insert completely, and the locking balls or mechanism should engage without force. Never hammer, clamp, or twist a mismatched plug into place. The spring-loaded sleeve is not a substitute for a correct profile.
Step 2: Separate profile size from thread size
Once the profile is known, inspect the rear connection. It may be male or female NPT, BSPP, BSPT, metric, a hose barb, or a push-to-connect stem. Record both the gender and size. A plug can have the correct Industrial nose and still have the wrong rear thread for your compressor hose.
NPT is tapered; BSPP is parallel; BSPT is tapered but uses a different thread form from NPT. They may start threading together and then bind or leak. Do not use extra sealant or force to compensate for a mismatch. Check the compressor, hose, or fitting manual, or compare the removed part's markings. If no marking is legible, use a thread gauge and measure the major diameter and pitch. A caliper alone does not identify thread standard.
Threads require the correct seal method as well. Tapered pipe threads generally seal on the thread with an approved sealant where the equipment maker permits it; parallel threads typically seal at a washer, O-ring, or bonded seal. Follow the component maker's instructions. Avoid PTFE tape fragments entering a pneumatic tool or valve, and do not cover the first thread if the sealant instructions prohibit it.
For hose ends, match the barb to the actual hose inside diameter and pressure rating. A barb for a 1/4-inch inside-diameter hose does not mean the coupling body is 1/4 inch. Use a clamp approved for the hose and pressure. Push-to-connect fittings require the specified tube material and outside diameter; they are not interchangeable with a barbed hose tail.
Step 3: Verify dimensions, but do not let calipers overrule the profile chart
If the marking is missing, measure the plug's nose diameter and the distance from its tip to the shoulder. Dixon's chart uses two measurements to narrow down the body size after the profile has been identified. Park Tool publishes an example for a common Industrial 1/4 body plug: roughly 5/16 inch (7.94 mm) at the tip and 3/16 inch (4.76 mm) for tip length. Those dimensions are an identification aid for that example, not a universal specification for every brand or profile.
Measure the male plug, not the coupler sleeve, and take each measurement at the same location shown in the chart. Wear, plating, rounded edges, and low-cost calipers can shift a reading. Compare the measured shape to the profile drawing and use a known-good sample when possible. A similar diameter alone does not establish compatibility because the locking groove and sealing surface also matter.
Inspect the old parts for damage before ordering. A flattened or burred nose can make a correct profile feel incompatible. A worn socket seal can leak even with the right plug. If the plug locks but bubbles appear at the joint, isolate the leak with approved leak-detection solution after pressurising, then check the coupler seal and plug surface. Do not apply solution inside the fitting or leave corrosive residue.
Step 4: Match pressure, flow, and valve behaviour
Confirm the working pressure of every item in the line: compressor, coupler, plug, hose, tool, and any regulator. Use the lowest applicable rating as the limit for the assembled circuit. Do not use a quick-connect rated only for low-pressure water or a specialty gas system on compressed air based on its appearance. If the compressor can exceed the fitting's rating, choose a suitable component or have a qualified technician review the setup.
Flow matters as much as pressure. Couplers with the same nominal body size can have different internal passages and pressure drop. Milton's listing for one M-style kit gives a maximum rating of 300 PSI and 40 SCFM, but those are claims for that specific Milton product, not a rating to apply to generic M-style fittings. Check the exact manufacturer datasheet and the conditions attached to any flow figure. A high SCFM number without test pressure and pressure-drop data is difficult to compare.
If a tool runs weakly, read pressure at its inlet while air is flowing. The tank gauge measures receiver pressure; a regulator or coupler gauge may show static pressure with the trigger released. A restrictive coupler, undersized hose, long run, or inadequate compressor output can cause pressure loss even when a plug fits perfectly. Replacing the socket with a larger-flow model only helps if the rest of the circuit supports the demand.
Some couplers shut off automatically when the plug is removed; others are open-flow and release air. Confirm that behaviour before disconnecting a pressurised hose. Use the sleeve or release procedure specified by the manufacturer and control the hose so it cannot whip. Depressurise the line before changing threads or repairing a fitting.
A practical match worksheet
Before ordering, write down this short set of facts:
- The profile and series stamped on the plug or coupler, or the chart match if no stamp exists.
- The coupling body size and measurements used to identify it.
- The rear connection on each side: thread standard, nominal size, gender, barb inside diameter, or tube outside diameter.
- The maximum pressure the fitting will see, plus the tool's actual pressure and flow demand.
- Material and environment: brass, plated steel, stainless steel, temperature, moisture, and exposure to oil or chemicals.
- Whether you need a socket, a plug, a complete pair, a hose-tail style, or an adapter.
For a seller inquiry, attach clear photos of the profile from the side and front, a ruler or caliper reading, the existing part number, and a sketch of the connection. Ask the supplier to confirm the plug profile by drawing, not by saying it is "universal." Request maximum working pressure, flow data with test conditions, thread standard, included pieces, and material for the exact variant being quoted. Make sure the product variant selected in the quote is the one shown in those specifications.
Equipvia may earn a commission from qualifying purchases through this link. The link resolved to Product ID 1601881608770 during review. CPS resolution does not verify the seller's technical claims, the coupler's profile, affiliate eligibility, or commission attribution. Check the actual selected variant and current terms before ordering.
The listing title identifies an industrial-interchange quick coupler set with 1/4 and 3/8 NPT options, which is a useful start because it separates the thread from the profile. The page still does not show a profile drawing, a body-size table, a working-pressure rating, flow at a stated pressure drop, or confirm whether both halves are included in the quoted variant. Confirm those in writing against the coupler already on your compressor.
Common ordering mistakes and what to do instead
Ordering by thread only. "1/4 NPT" describes the rear connection, not the profile. Search for both, such as "1/4 NPT Industrial/M-style plug."
Mixing Industrial and Automotive profiles. They can look close in small marketplace images but are distinct families. Match the manufacturer's chart or part number before buying.
Confusing body size and hose size. A 1/4 body coupler does not necessarily fit a 1/4-inch inside-diameter hose. Confirm both ends of the fitting.
Assuming a click proves a match. A partial insertion can seem secure. With the circuit depressurised, verify full travel and positive locking; after pressurising, check for leaks and confirm pressure behaviour.
Buying an adapter to rescue an unknown thread. Stacking adapters adds joints, length, and potential leaks. Identify the thread standard first and use the fewest connections practical.
Selecting only by headline PSI. A maximum pressure rating does not tell you the fitting's flow capacity, material, valve behaviour, or profile. Confirm every specification against the selected part number.
Quick checks for a leaking or stubborn connection
A leak that appears only after a tool is connected can come from the coupler seal, a damaged plug nose, a loose rear thread, or another joint upstream. Clean and dry the outside first, then apply an approved leak-detection solution to the suspected external joints while the system is pressurised within its rated limits. Bubbles growing at the socket face point toward the plug and coupler sealing surfaces; bubbles at the threaded hex point toward that pipe connection. Shut the compressor off, isolate the line, and release trapped pressure before disassembly. Never tighten a fitting while it is live.
If the sleeve refuses to retract, do not oil it blindly. Some couplers need residual pressure relieved or a specific sleeve motion to release the plug; grit or corrosion can also jam the locking mechanism. Follow the maker's release instructions, secure the hose, and vent it in a controlled direction. If the sleeve, balls, or seal are damaged, replace the coupler with the exact matching profile and rated connection rather than filing the plug or forcing the sleeve. A modified plug can fail to retain under pressure.
Choosing a replacement without buying a box of mismatches
For one repair, identify the exact plug and coupler ends separately; replace only the worn side if the other half is compatible and in good condition. For a shop, standardise on one profile where possible and label hoses, tools, and drops. Keep specialty profiles separate and use clearly marked adapters only where necessary. This reduces accidental cross-connection and makes replacement plugs easier to stock.
A brass fitting may suit many general workshop connections, while steel or stainless options may be chosen for different wear, corrosion, or environment needs. Material alone does not establish pressure suitability. Ask for a drawing and datasheet tied to the precise model. If no technical record exists, do not infer a safe working pressure from a product photo, seller title, or the fact that a similar fitting has worked elsewhere.
The reliable order is straightforward: identify the female coupler's profile, match the plug geometry, identify the back-end connection independently, then check pressure and flow. When a fitting will not lock, the answer is usually in one of those four checks, not in tightening harder.
Share this article